
Unattended Network Installation for SLES11 SP4
Performing unattended network installation via PXE of SLES11 SP4.
This walkthrough describes the required steps for performing unattended network installation via PXE of SLES11 SP4.
Briefly the steps are:
- Installing the first OS which also will be used as the installation server
- Configure & start required services (tftp,nfs,dhcp)
- Start a server to check that process begins correctly.
We will use 192.168.86.100 as server ip and range 192.168.86.150-200 for your dhcp clients.
Installing OS in the first server
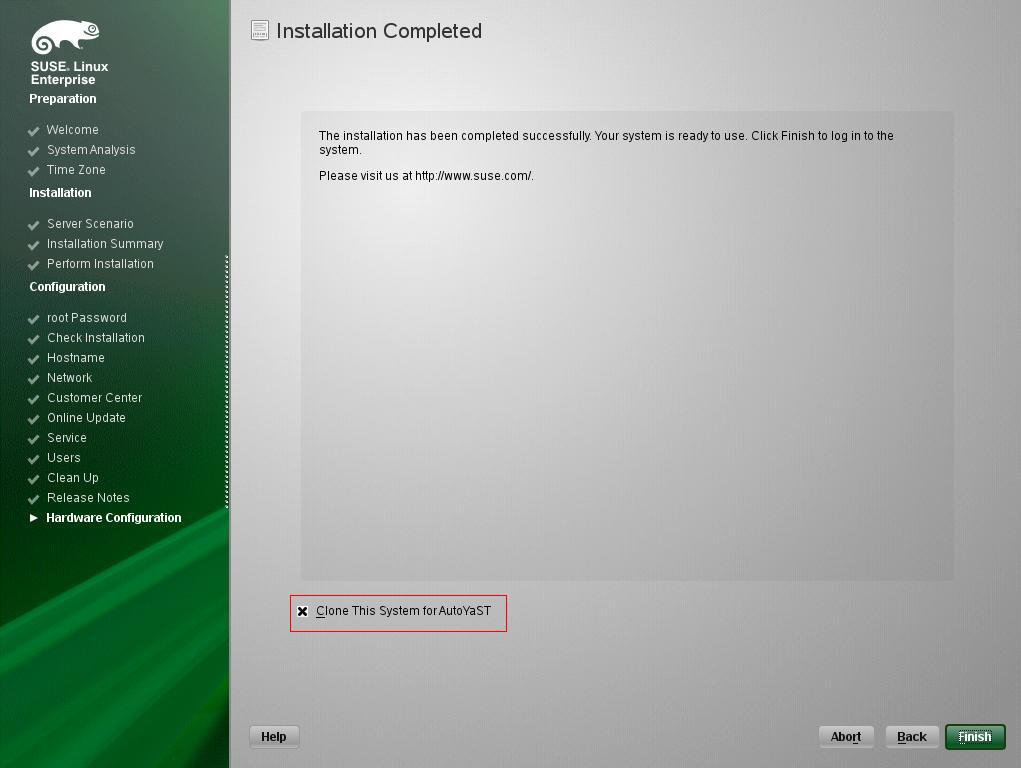
The only thing that requires attention during the installation of the first server is to check the “Clone This system for autoyast” option when asked.
Configuring required services for network boot
First we need to install the required packages using zypper. Make sure that the iso cd is still mounted on server:
# zypper in dhcp-server tftp nfs-kernel-server
This installs dhcp-server, tftp and nfs server.
NFS Service setup
We need to create /mnt/export folder and mount the installation iso to the shared folder.
# mkdir -p /mnt/export
# mount /dev/sr0 /mnt/export/
Then create /etc/exports config file using this content:
/mnt/export *(fsid=0,crossmnt,ro,root_squash,sync,no_subtree_check)
Then restart NFS service using:
# service nfsserver start
TFTP Service Setup
First we need to create /tftpboot/pxelinux.cfg directory:
# mkdir -p /tftpboot/pxelinux.cfg
Then we need to enable tftp service inside xinetd server by editing /etc/xinetd.d/tftp
Pay attention to the last line “disable= no”, by default is yes.
tftp
# default: off
# description: tftp service is provided primarily for booting or when a \
#       router need an upgrade. Most sites run this only on machines acting as
#       "boot servers".
service tftp
{
        socket_type     = dgram
        protocol        = udp
        wait            = yes
        flags           = IPv6 IPv4
        user            = root
        server          = /usr/sbin/in.tftpd
        server_args     =  -s /tftpboot
        disable         = no
}
After that we need to copy some files from the iso CD to /tftpboot directory.
File pxelinux.0 is included in syslinux package , if it’s not found you must install syslinux via zypper.
# cd /mnt/export/boot/x86_64/loader
 # cp -a linux initrd message biostest memtest /tftpboot
 # cp -a /usr/share/syslinux/pxelinux.0 /tftpboot
 # cp isolinux.cfg /tftpboot/pxelinux.cfg/default
 # cp /root/autoinst.xml /tftpboot/
We create /tftpboot/pxelinux.cfg/default file with the following contents:
default
default linux

# hard disk
label harddisk
  localboot 0x80

# install
label linux
  kernel linux
  append initrd=initrd vga=0x0314 hostip install=nfs://192.168.86.100/mnt/export/ autoyast=tftp://192.168.86.100/autoinst.xml

# bios test
label firmware
  kernel linux
  append initrd=biostest,initrd splash=silent install=exec:/bin/run_biostest showopts

# memory test
label memtest
  kernel memtest

implicit        0
display         message
prompt          1
timeout         6
Then we restart xinetd to apply tftp based changes.
# service xinetd restart
First we will create /etc/dhcpd.conf file using the following:
dhcpd.conf
option domain-name "test.gr";
option domain-name-servers 10.2.2.10;
option routers 192.168.86.1;
default-lease-time 14400;
ddns-update-style none;
subnet 192.168.86.0 netmask 255.255.255.0 {
  range 192.168.86.150 192.168.86.200;
  default-lease-time 14400;
  max-lease-time 172800;
  filename "pxelinux.0";
  next-server 192.168.86.100;
}
Also we will also need to edit /etc/sysconfig/dhcpd file and change:
DHCPD_INTERFACE=""
...to...
DHCPD_INTERFACE="eth0"
...and save it.
The above config serves 192.168.86.150-200 ip range to clients with 192.168.86.1 as their default gateway, default gw & dns servers can safely change if required.
After that dhcpd service must be restarted:
# service dhcpd start
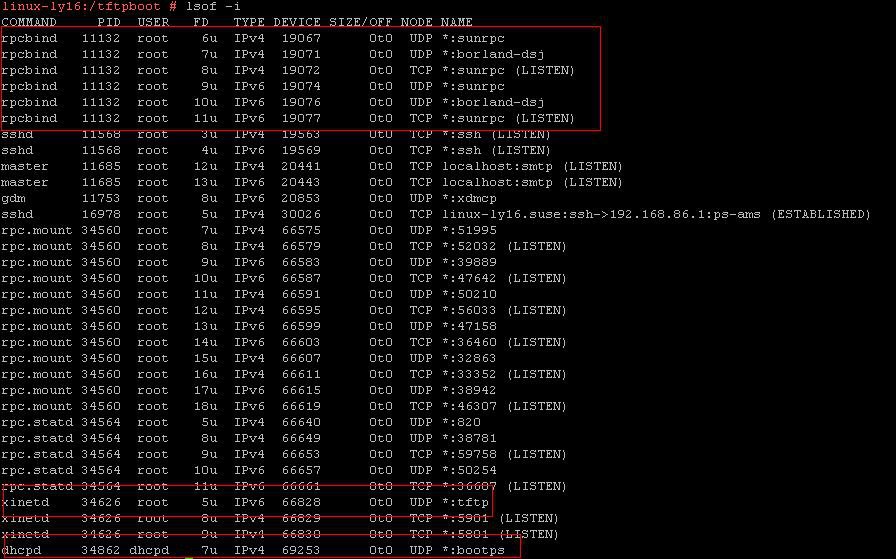
You can check out if all services are up using:
# lsof –i
The only thing to left is fire up a server and boot using PXE.
- Posted by Michael CossenasJan. 29, 2016

