IBM Operations Analytics
Installing IBM Operations Analytics - Log Analysis Entry Edition 1.3.2 to analyse access logs from two http servers in load balancing.
Preparation
Log Analysis requires Red Hat Enterprise (RHEL) for Linux version 5, 6, or 7 or SUSE Linux Enterprise Server (SLES) version 11. So we are using again linux containers to setup our environment in SLES 11.4. We begin cloning a sles template:
# lxc-clone sles laserver
Created container laserver as copy of sles
After creation we configure our container's config file (/var/lib/lxc/laserver/config) to match our network settings. After boot we are using "yast" to upgrade the operating system.
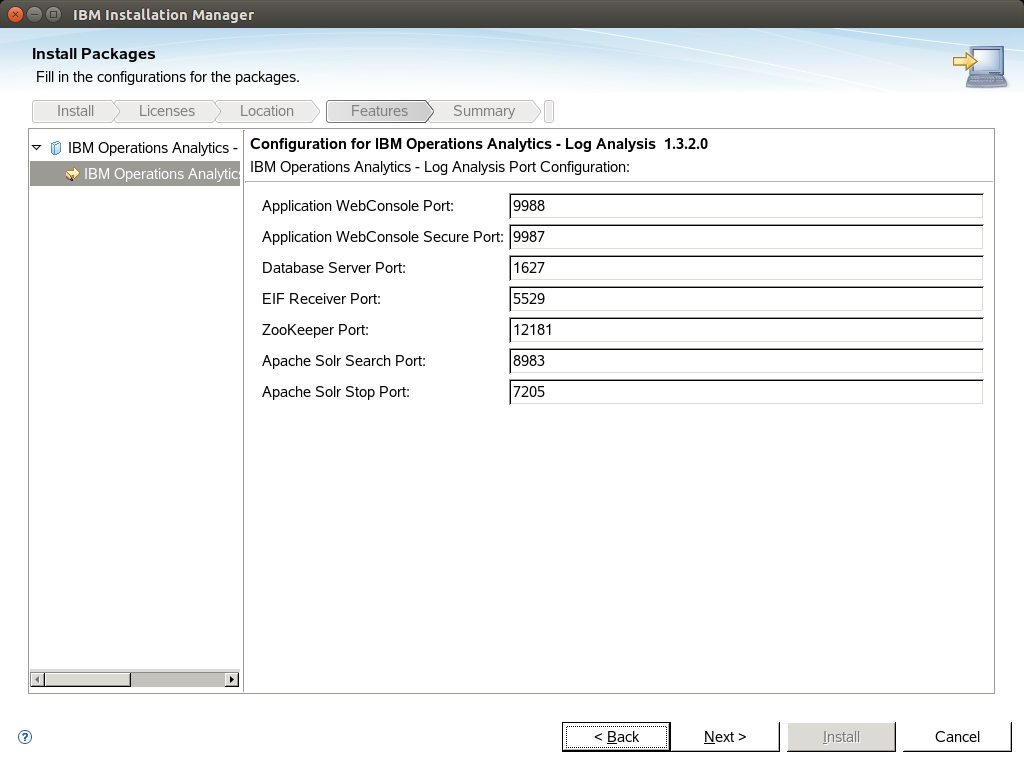
Installation
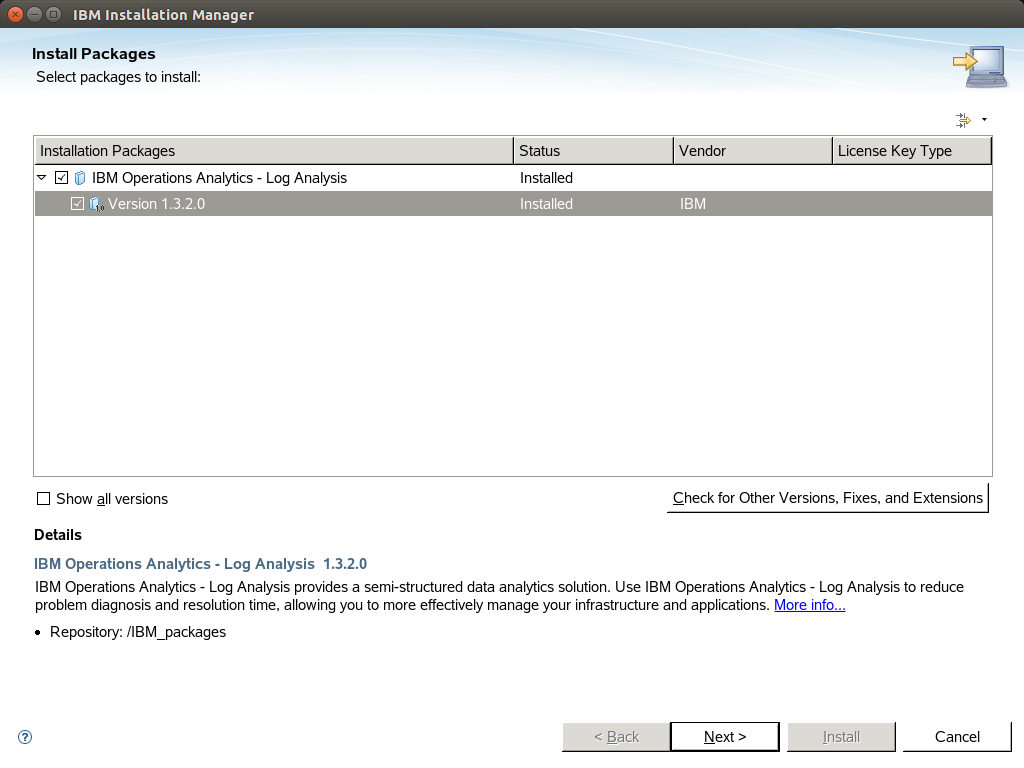
For installing the product we need the following package:
IBM_LogAnalysis_x86_64_EntryEdition_1320.tar.gz
We also need a user (other than root) in order to install the product, so we create "loguser" with yast. Then we can extract the package and run install.sh as loguser.
loguser@laserver:~> /IBM_packages/install.sh
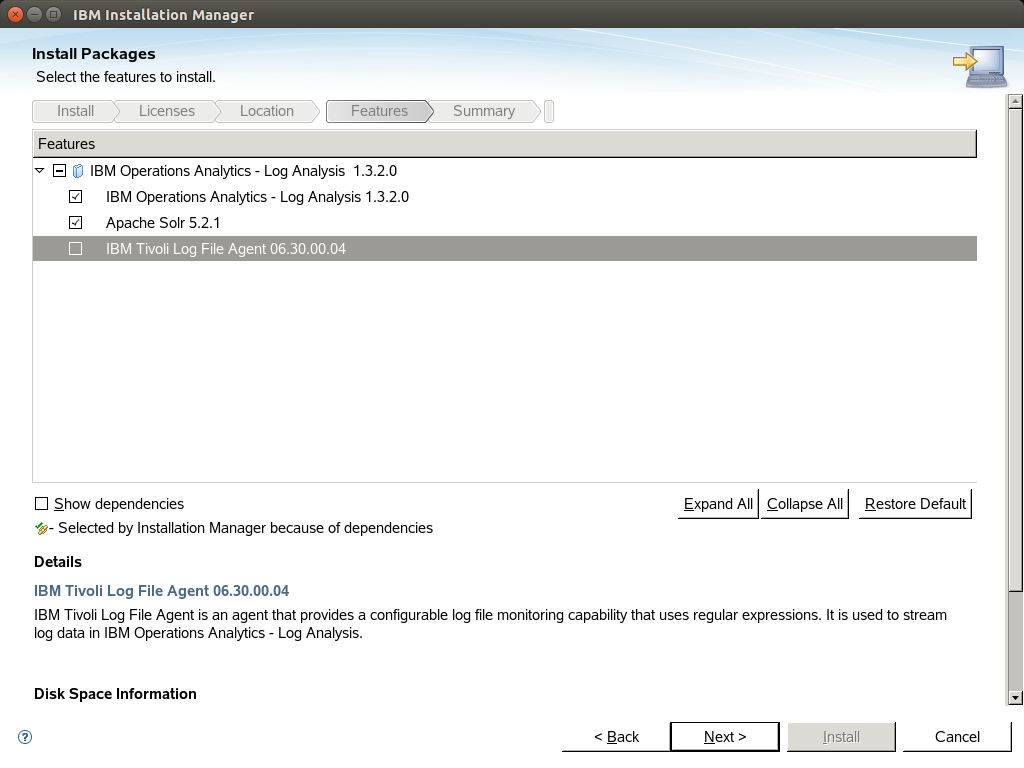
For our installation we are using logstash to ingest the server with log records from multiple machines. So we dont need ITM Log File Agent to be installed as you can see to screenshots:

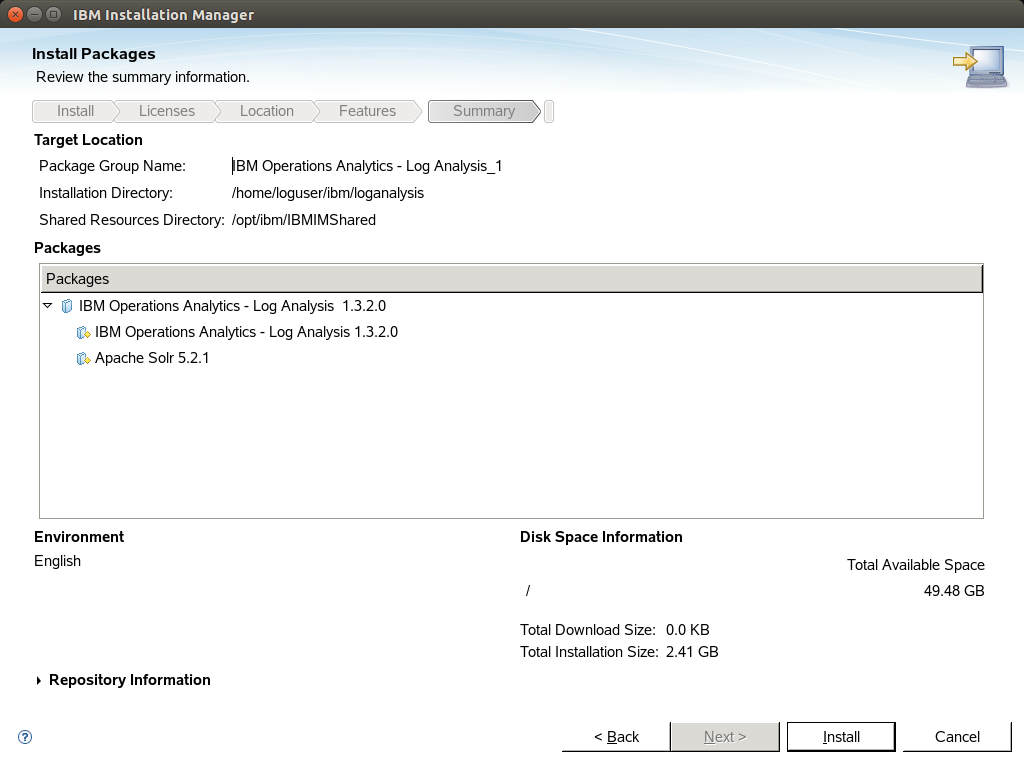
After that the Log analysis server is up 'n running.
Installing a custom Insight Pack
Lets say that our log files are using a custom format that is not covered from the product out of the box. In this case we can create out own insight pack.
Extract the zip file <installation home>/unity_content/tools/DSVToolkit_v1.1.0.4.zip in a temporary directory and cd to this directory.
Create a file "customLogs.properties" to describe your custom log record. For example for our custom apache access logs we are using this .properties file:
[SCALA_server]
username: unityadmin
password: unityadmin
scalaHome: /opt/IBM/LogAnalysis

[DSV_file]
delimiter: ,
moduleName: AccessLog_IA
version: 1.1.0.0

[field0_indexConfig]
name: logRecord
dataType: TEXT
retrievable: true
retrieveByDefault: true
sortable: false
filterable: false
searchable: true
path_1: content.text
combine: FIRST

[field1_indexConfig]
name: request_id
retrievable: true
retrieveByDefault: true
sortable: true
filterable: false
searchable: true
dataType: TEXT

[field2_indexConfig]
name: clientIP
retrievable: true
retrieveByDefault: true
sortable: true
filterable: true
searchable: true
dataType: TEXT

[field3_indexConfig]
name: auth
retrievable: true
retrieveByDefault: true
sortable: true
filterable: true
searchable: true

dataType: TEXT
[field4_indexConfig]
name: protocol
retrievable: true
retrieveByDefault: true
sortable: true
filterable: true
searchable: true
dataType: TEXT

[field5_indexConfig]
name: timestamp
retrievable: true
retrieveByDefault: true
sortable: true
filterable: true
searchable: true
dataType: DATE
dateFormat: yyyy-MM-dd'T'HH:mm:ss

[field6_indexConfig]
name: verb
retrievable: true
retrieveByDefault: true
sortable: true
filterable: true
searchable: true
dataType: TEXT

[field7_indexConfig]
name: request_method
retrievable: true
retrieveByDefault: true
sortable: true
filterable: true
searchable: true
dataType: TEXT

[field8_indexConfig]
name: request
retrievable: true
retrieveByDefault: true
sortable: true
filterable: false
searchable: true
dataType: TEXT

[field9_indexConfig]
name: response
retrievable: true
retrieveByDefault: true
sortable: true
filterable: true
searchable: true
dataType: TEXT

[field10_indexConfig]
name: bytes
retrievable: true
retrieveByDefault: true
sortable: true
filterable: false
searchable: false
dataType: LONG

[field11_indexConfig]
name: referrer
retrievable: true
retrieveByDefault: true
sortable: true
filterable: true
searchable: true
dataType: TEXT

[field12_indexConfig]
name: agent
retrievable: true
retrieveByDefault: true
sortable: true
filterable: true
searchable: true
searchable: true
dataType: TEXT

[field13_indexConfig]
name: time_serve
retrievable: true
retrieveByDefault: true
sortable: true
filterable: false
searchable: true
dataType: TEXT
Then create your new insight pack using this command:
python dsvGen.py ./anytimeWebaccess.properties -u unityadmin -p unityadmin
The tool is creating a directory customLogsInsightPack_v1.1.0.0. In order to install this to server you need to zip it with the command:
zip customLogsaccessInsightPack_v1.1.0.0
Then install it with the following tool:
<installation home>/utilities/pkg_mgmt.sh -install <temporary directory>/customLogsInsightPack_v1.1.0.0.zip
After that you can see your custom Source Types in your server's interface.
Installing logstash on a remote machine
IBM Log Analysis is supporting logstash 1.5.3. You can use the following compressed files in your server:
<installation home>/logstash-1.5.3/logstash-1.5.3.tar.gz
<installation home>/logstash-1.5.3/logstash-scala.tgz
Copy them to your remote machine and extract them.
You need to create a structure like this below to make logstash to work with scala plugin ingesting log records to your Log Analysis server:
<installation home>
|_config
|_logstash
| |_vendor
| |_lib
| | |_bootstrap
| | |_pluginmanager
| |_lin
| |_outputs
Inside the config directory edit logstash-scala.conf config file to match your log format and your servers settings.
Run logstash as agent with the following command:
<installation home>/logstash-1.5.3/logstash/bin/logstash agent --pluginpath <installation home>/logstash-1.5.3/logstash/outputs -f <installation home>/logstash-1.5.3/config/logstash-scala.conf
Usefull tools
Administer your server status:
<installation home>/utilities/unity.sh -stop
<installation home>/utilities/unity.sh -start
<installation home>/utilities/unity.sh -status
Monitor receiver's logs:
tail -f <installation home>/logs/GenericReceiver.log
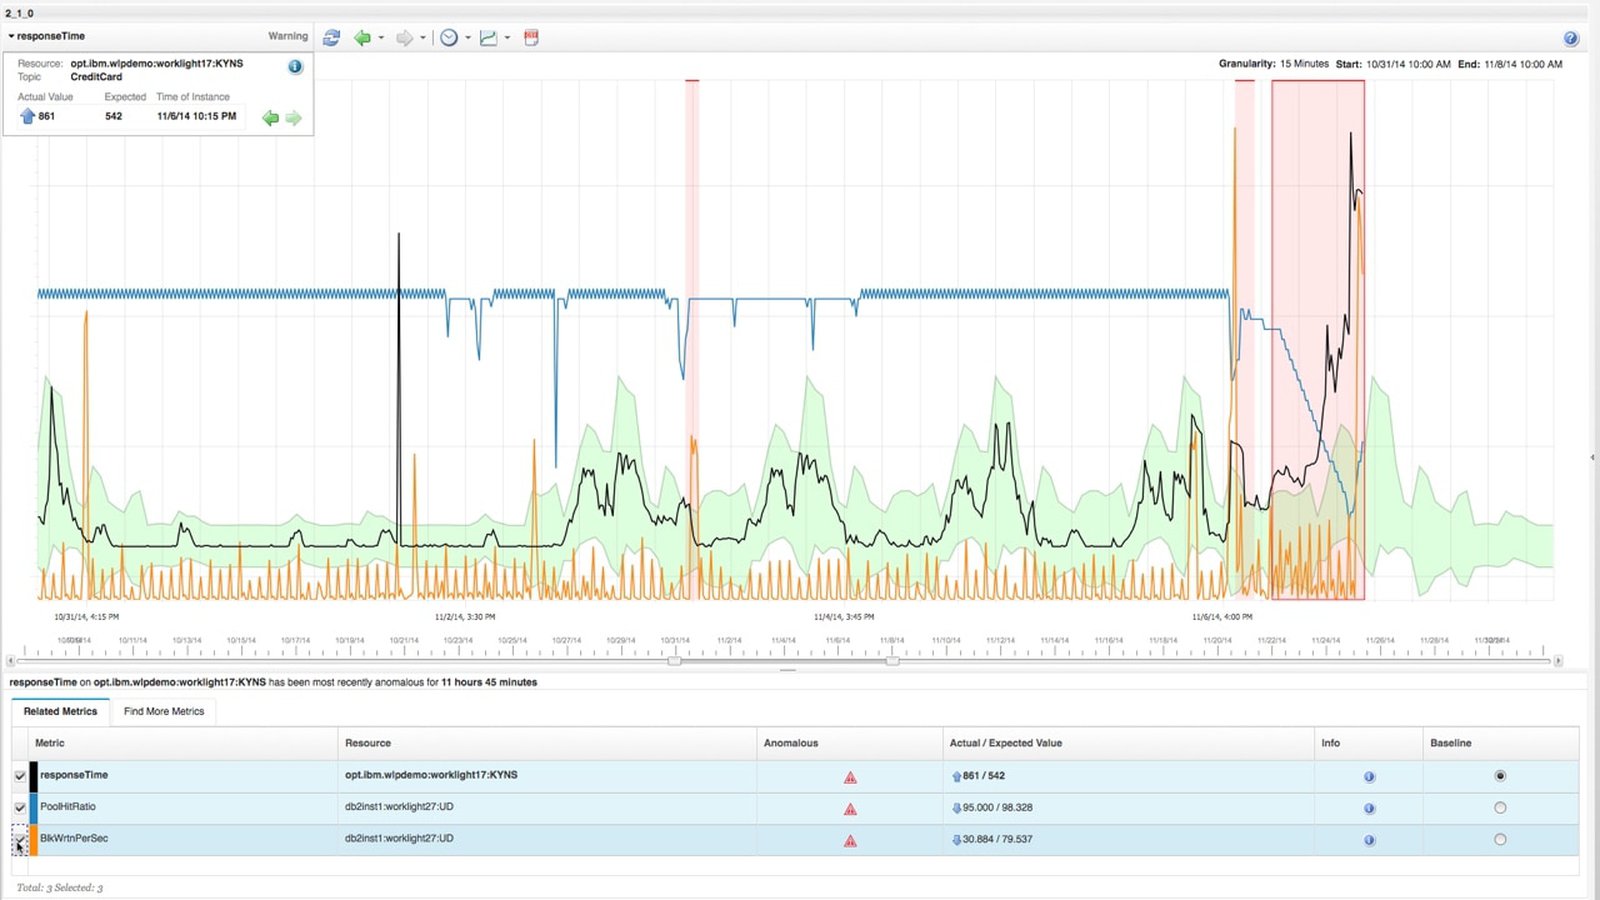
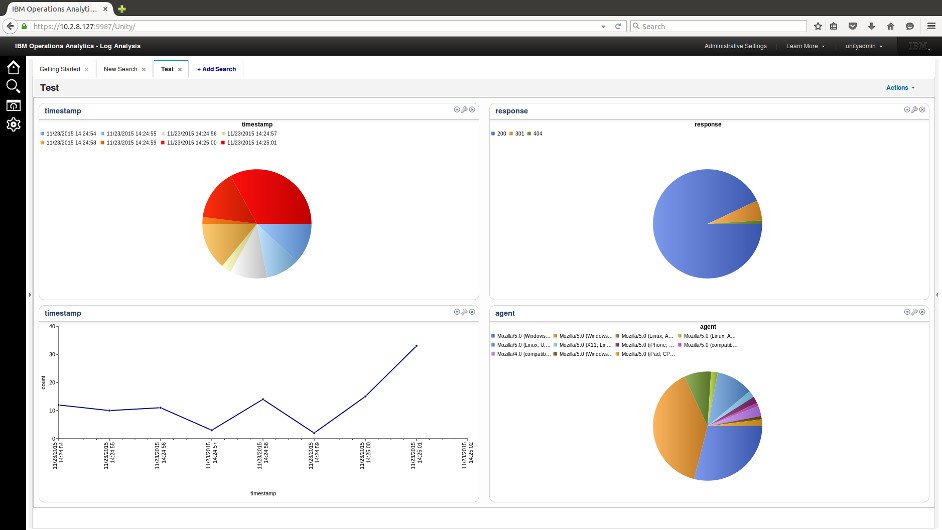
Sample Dashboard
- Posted by Kostas KoutsogiannopoulosNov. 22, 2015

